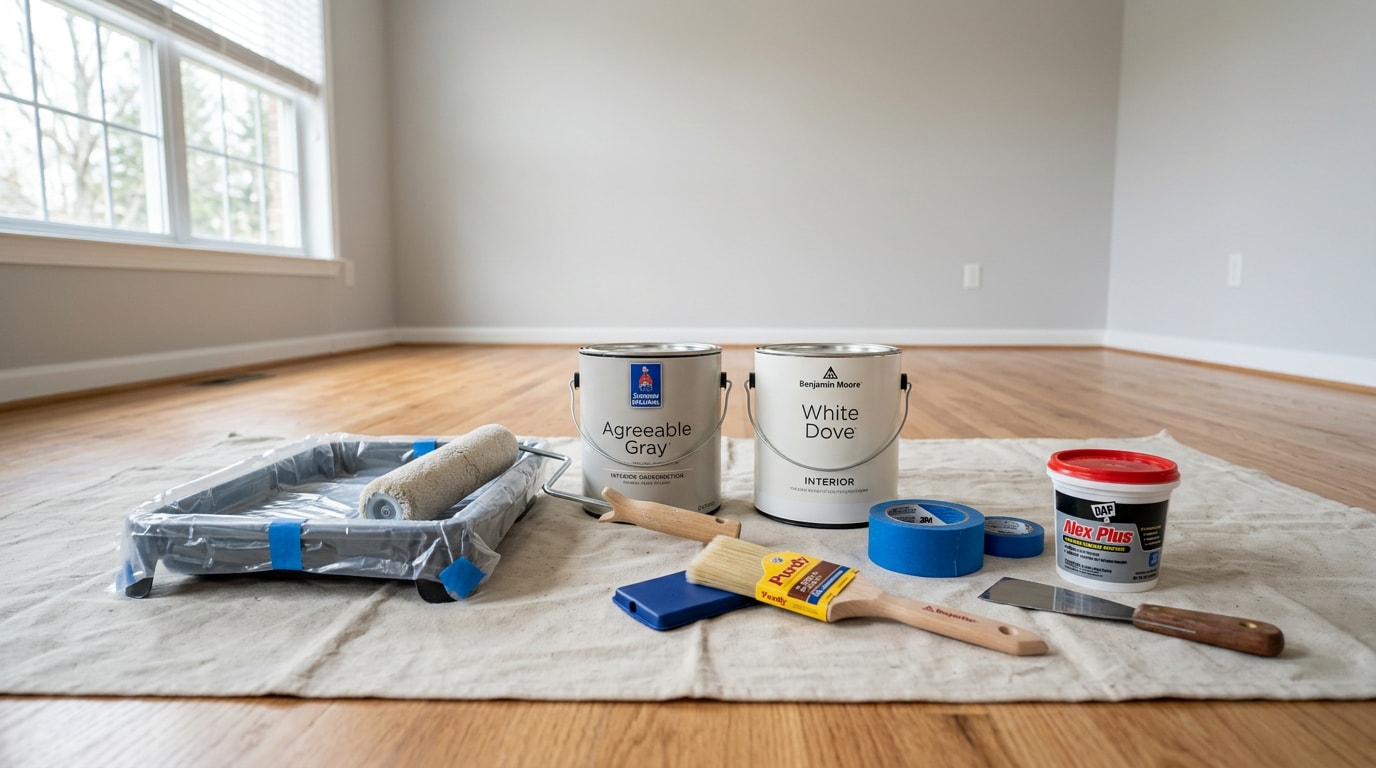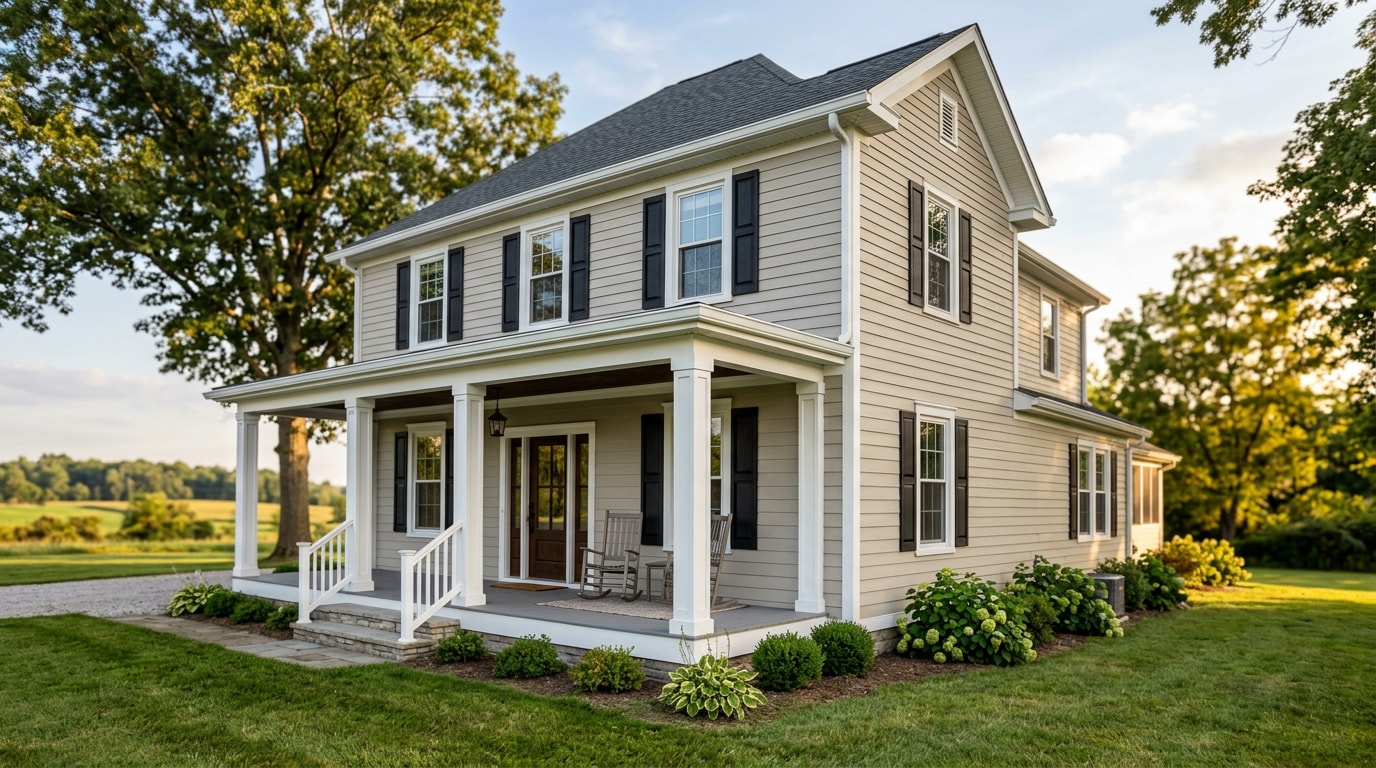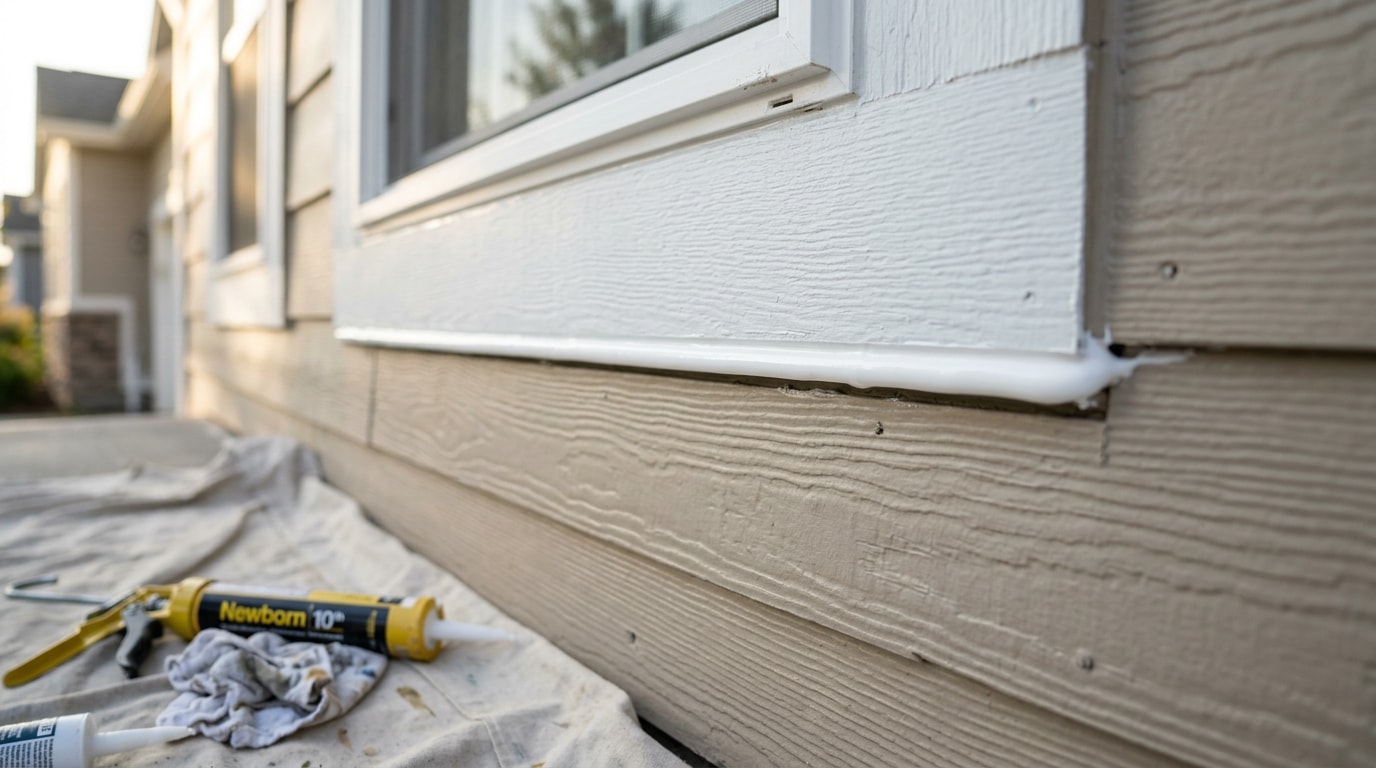
The best caulk for exterior painting New Albany, OH homes need is never one product. It is the chemistry that matches what a specific joint is doing: how much it moves, what two materials it bridges, and whether paint is going over it. Pick by brand alone and you will be re-caulking two summers from now.
Quick Picks: Best Exterior Caulk by Job
These five tubes cover almost every residential repaint scenario in central Ohio. Prices are typical retail ranges and shift by retailer and tube size.
| Product | Best for | Paintable | Paint window | Typical price |
|---|---|---|---|---|
| DAP Dynaflex 230 | Overall paintable pick: trim, siding seams, window surrounds | Yes | About 2 hours | $8 to $10 |
| Sashco Big Stretch | High-movement joints that open and close seasonally | Yes | 2+ hours, longer when cool or damp | $11 to $14 |
| Sherwin-Williams SherMax | Fiber cement and aluminum cladding | Yes | About 2 hours | $10 to $13 |
| Sikaflex Construction Sealant | Brick, block, and concrete joints | Yes, after full cure | Several days | $9 to $12 |
| DAP Alex Plus | Small, protected, low-movement seams | Yes | About 30 to 40 minutes | $4 to $6 |
Confirm the paint window printed on the tube you actually buy. Formulations get revised, and the label wins over any article.
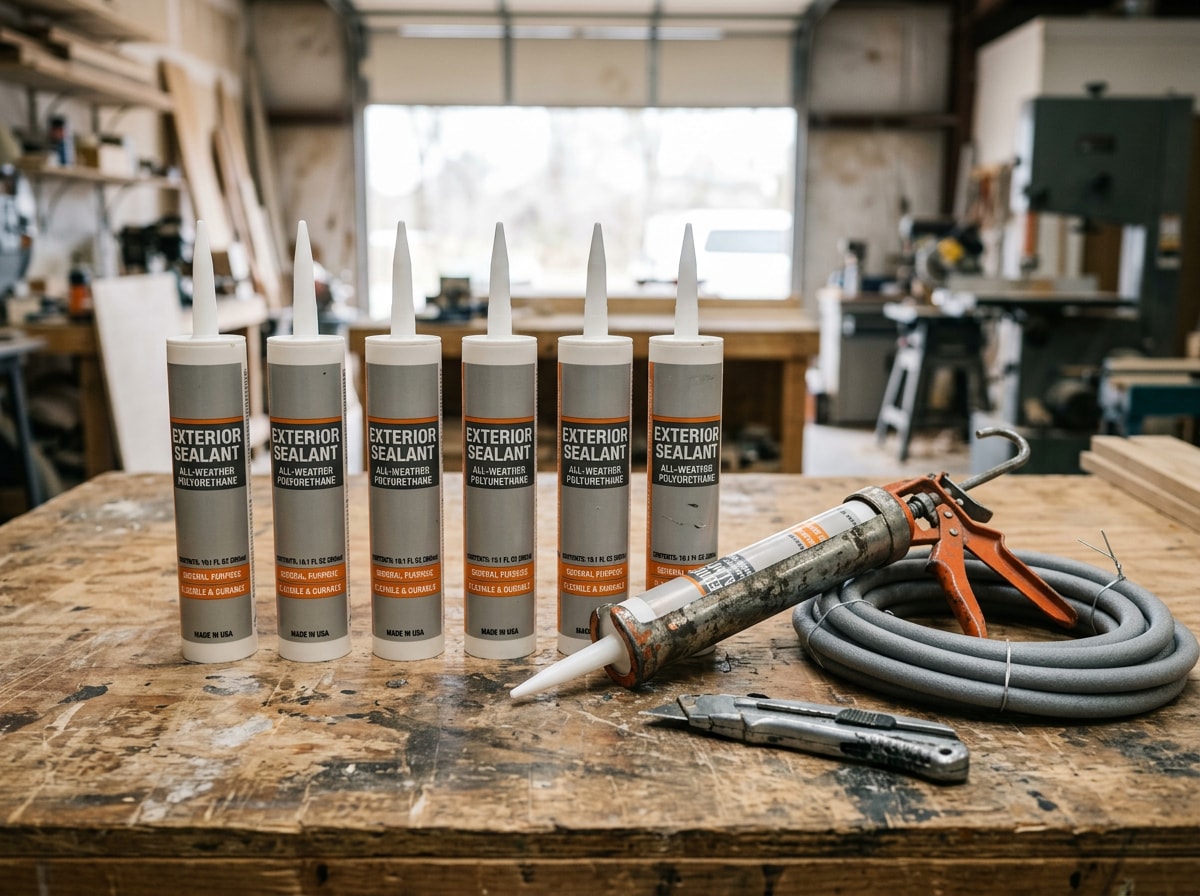
Read the spec sheet, not the front label
This is the part most roundups skip. Marketing copy says "maximum flexibility." The technical data sheet gives you numbers you can compare.
Dynaflex 230 is a useful benchmark because its published data is specific. The sealant lists ±25% dynamic joint movement, 350% total elongation, a service temperature range of -30°F to 180°F, an application range of 40°F to 100°F, a 30 minute tack free time, and a 10 minute tooling window.
It also meets ASTM C920, Class 25, along with AAMA 802 and AAMA 808.
Those four figures are the ones worth comparing across products on the DAP product and technical data pages:
- Movement capability (ASTM C920 class, or a stated percentage)
- Service temperature range
- Application temperature range
- Tooling time and paint window
A ten minute tooling window is the spec that catches most homeowners. It means you gun a short run, tool it, then move on. It does not mean caulk an entire elevation and come back with a wet finger.
Types of Exterior Caulk: Which Chemistry Fits Your Joint
Four chemistries cover nearly every exterior joint. One of them can never be painted.
Acrylic latex caulk
Sold as painter's caulk. It guns smoothly, tools with a wet finger, cleans up with water, and accepts paint faster than anything else on the shelf.
The tradeoff is movement tolerance. Straight acrylic latex has the lowest flexibility and the shortest outdoor service life of the four.
It is an interior-trim product that gets badly over-used on New Albany exteriors. Keep it on tight, stable, low-movement seams. General guidance is that caulk handles openings up to about 1/4 inch wide , and cheap latex is at its limit well before that.
Siliconized acrylic caulk
This is the best paintable exterior caulk for most of a house. Silicone additives buy real flexibility and weather resistance while keeping full paintability and soap-and-water cleanup.
Dynaflex 230 and Sashco Big Stretch are the category benchmarks. A Class 25 rating means the joint can move ±25% of its designed width without the bead tearing.
That range covers the overwhelming majority of siding seams, trim perimeters, corner boards, and window surrounds on a repaint.
100% silicone caulk
Start with the disqualifier: pure silicone is not paintable. Paint beads up and slides off, and no primer reliably fixes it.
It still earns a place on a painted house. As a waterproof sealant with excellent UV resistance, it belongs on glass-to-frame joints, unpainted metal flashing, and anything that will never be coated.
Watch the label. "Paintable silicone" almost always means a siliconized hybrid, not true 100% silicone. Read the back panel before you gun it.
Polyurethane caulk
Polyurethane has the strongest adhesion of the group. It bonds dissimilar materials, masonry to wood or metal to fiber cement, where latex-based products struggle.
It is paintable once cured and tolerates high-movement joints. The costs are real: solvent cleanup, stronger odor, and a fast skin that punishes sloppy tooling.
Treat it as a targeted-joint product. Control joints, masonry-to-wood transitions, and deck ledgers. It is not a practical whole-house caulk for a residential repaint.
Matching Caulk to the Joint on a Central Ohio House
Local weather is the reason this matters here. Columbus area normals put January highs near 37°F against lows near 23°F , which means a typical winter day crosses the freezing point in both directions. Each crossing flexes every joint on the house. You can pull the full month-by-month figures from the National Weather Service climate normals for Columbus.
| Joint or location | Required chemistry | What happens if you choose wrong |
|---|---|---|
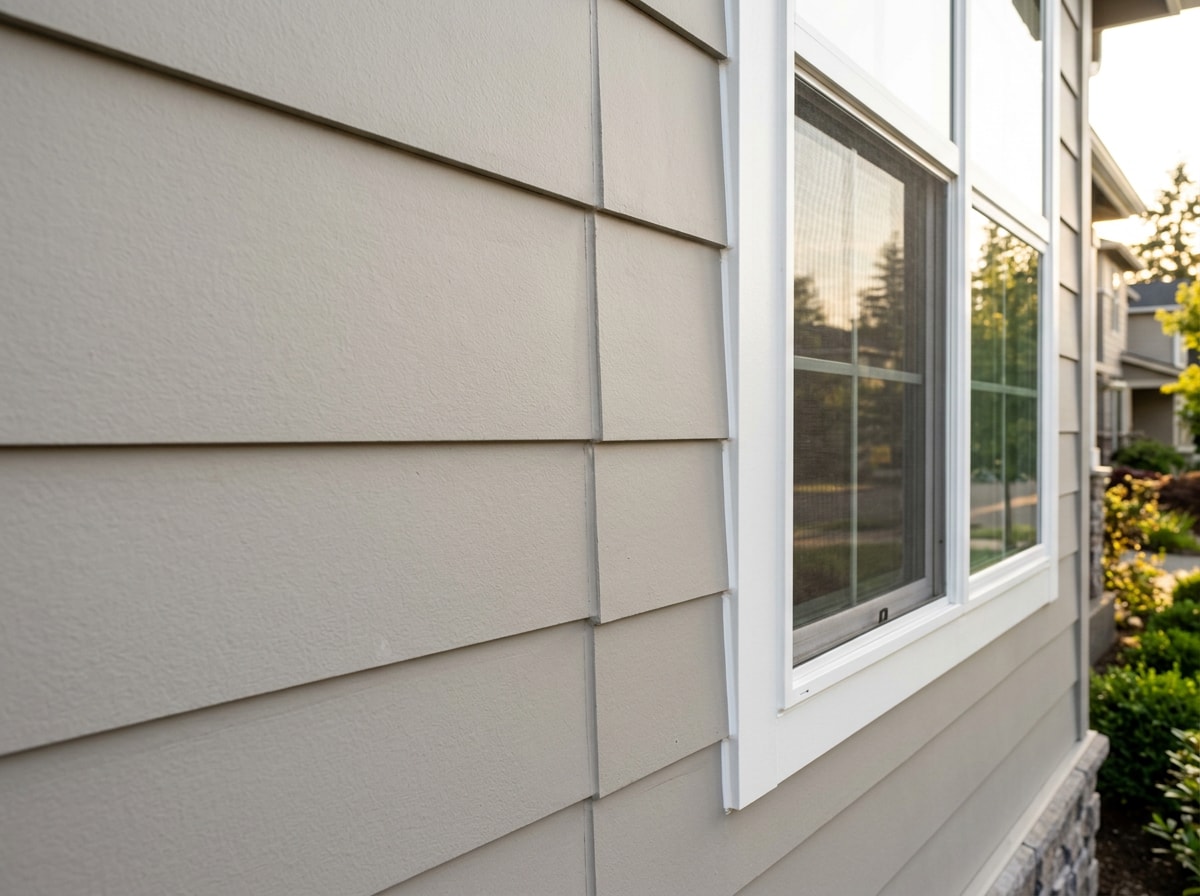
| Fiber cement siding butt joints | Siliconized acrylic or urethanized acrylic | Straight latex splits at the seam within one or two winters |
| Wood trim, corner boards, frieze boards | Siliconized acrylic | Rigid caulk cracks and paint peels off the bead edge |
| Aluminum-clad window perimeters | Siliconized acrylic or polyurethane | Latex will not hold the clad-to-wood transition and water tracks behind |
| Brick-to-wood-trim transitions | Polyurethane | Acrylics debond from brick as it absorbs and releases moisture |
| Stucco accent panel control joints | Polyurethane or ASTM C920 elastomeric | Low-movement caulk tears and opens a direct water path |
| Glass-to-frame, unpainted flashing | 100% silicone | Paintable caulk chalks and degrades under direct UV |
That brick-to-trim row matters a lot in New Albany, where Georgian brick elevations with painted wood trim are the dominant style. Across repaints we walk here, the joint that fails first is almost always the horizontal trim-to-siding seam on a west or south elevation. Full sun plus driving rain is the worst combination a bead faces.
Start your own inspection there. Our crew checks those seams before quoting anything else on a residential exterior painting) job, and you can see finished elevations in our project gallery.
Where You Should Not Caulk
Sealing everything is a common and expensive mistake. Walls need to drain and dry. Caulk in the wrong place traps water inside the assembly.
Leave these open:
- Bottom edges of lap siding courses, which are designed to drain
- Weep holes in brick veneer and in window frames
- The underside of window and door drip caps or head flashing
- Gaps under the bottom edge of a window sill nose
- Soffit and frieze vent openings
If a joint's job is to let water out, caulking it turns a drainage path into a reservoir. Where trim is already soft from trapped moisture, sealant is the wrong tool and wood replacement is the right one.
Application: Prep, Bead, Tool
Product choice is half the outcome. Most premature failure traces back to prep, bead size, or tooling instead of the tube.
Preparation
Cut out and remove every bit of failed caulk first. New sealant bonded to old loose sealant inherits the old failure.
Scrub the joint free of dust, chalk, and mildew. Confirm the substrate is genuinely dry, not just dry to the touch after a morning rain. Standard guidance is to apply only to a clean, dry surface and to run a continuous stream without stops and starts.
Prime bare wood before caulking. For gaps deeper or wider than about 1/2 inch, pack closed-cell backer rod instead of burying tube after tube.
Bead control
Cut the nozzle at a 45 degree angle and size the opening to the gap. You can always enlarge the cut. You cannot shrink it back.
Keep steady pressure and pull long, continuous beads. Do not overfill. A bead that mounds above the surface tools poorly and cracks along its crown once painted.
Tooling
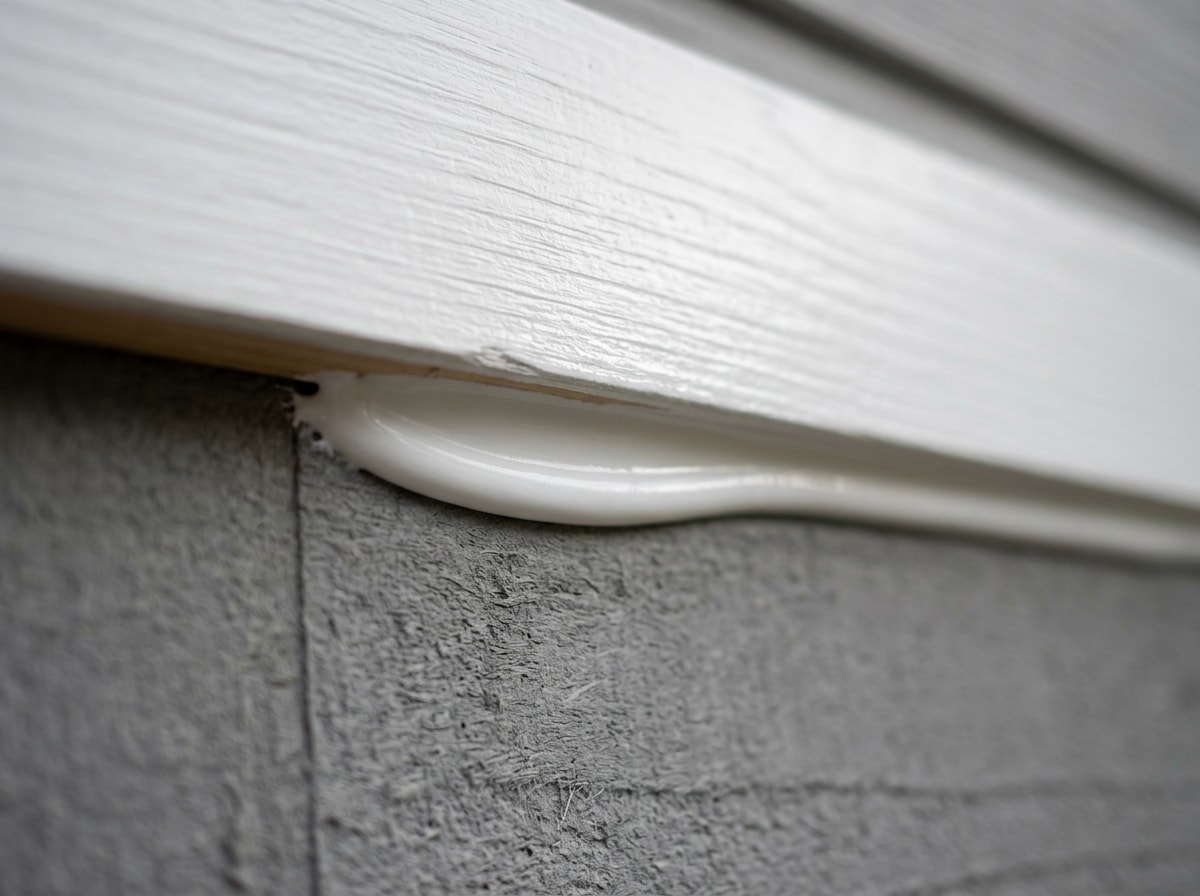
Tool every bead while it is fresh, with a wet finger or a smoothing tool. The point is not cosmetic. Pressing the bead into the joint forces contact with both faces so it actually bonds to each side.
Aim for a slightly concave profile that sheds water. Gun and tool polyurethanes in short runs, because they skin fast.
Dry Time, Cure Time, and When to Paint
These are two different clocks. Dry time, or skin time, is when the surface firms up and will not smear under a brush. Cure time is when the sealant has fully cross-linked and reached its final flexibility and adhesion, often days later.
With latex-based products you can usually paint at dry time. Polyurethanes are the exception. Paint them too early and solvent release can wrinkle or lift the coating.
Rough ranges by chemistry:
- Acrylic latex: paintable in about 30 to 60 minutes
- Siliconized acrylic: about 1 to 3 hours, with Dynaflex 230 rated at 2 hours
- Polyurethane: 24 hours to several days depending on bead size
- 100% silicone: never paint it
The practical rule is to caulk the day before you paint. Stretch that window in cool, damp shoulder-season weather, especially when overnight lows slide into the 40s. If your schedule is already tight, that extra day belongs in the estimate, which is one of the line items we break down in our guide to what an exterior painting estimate should include.
Sealing these joints also pays off past appearance. The U.S. Department of Energy notes that caulking and weatherstripping are simple air-sealing techniques that often pay for themselves within a year , which you can read more about in the DOE guidance on insulation and air sealing.
FAQ
What is the best exterior caulk for 2026?
For general exterior painting, DAP Dynaflex 230 is the strongest all-around choice. Its published specs cover ±25% joint movement and paintability in a few hours , so it flexes through seasonal movement without stalling your paint schedule. For joints that visibly open and close, step up to Sashco Big Stretch.
How long should caulk dry before painting?
Most paintable latex and siliconized latex caulks are ready in about one to two hours in warm, dry conditions. Polyurethane needs a day at minimum and sometimes several. Cool temperatures and high humidity slow every chemistry down.
Should you caulk before or after painting?
Before. Caulk after prep and priming, but before the finish coat. Paint over the bead shields it from UV and water. Caulk applied on top of cured paint bonds to the coating instead of the substrate and peels sooner.
Can you paint over silicone caulk?
Not 100% silicone. Paint will not adhere, and bonding primers rarely solve it. Siliconized acrylic and cured polyurethane both take paint fine. If you are unsure what is already on the house, test a primer dab on an inconspicuous bead and check it the next day.
What is the longest-lasting exterior caulk?
For unpainted joints, 100% silicone generally lasts longest. For painted joints, a high-movement siliconized acrylic or a polyurethane will outlast standard latex by years. Service life depends more on joint prep and bead profile than on the brand.
How cold is too cold to caulk outside?
Check the application temperature range on the tube. Dynaflex 230, for example, lists an application range of 40°F to 100°F. Below that, adhesion and cure both suffer, and a frost-damp substrate guarantees failure.
How often should exterior caulk be replaced?
Inspect at every repaint, typically every 7 to 10 years on painted wood in central Ohio. Replace any bead that is cracked, chalky, pulled away from one face, or soft to a fingernail. Spot-replace rather than re-caulking everything.
How many tubes of caulk will my house need?
Coverage depends on bead size. A 10.1 ounce cartridge runs roughly 55 linear feet at a 3/16 inch bead. Measure your actual joint footage, then add 20% for waste and the joints you find once you are on the ladder.
Get the Joints Right Before the Paint Goes On
Caulking is structural prep, not cosmetic touch-up. If you want a second set of eyes on which joints need what, the team at PKC Custom Painting walks elevations across New Albany, Westerville, and Gahanna before a single tube gets opened. See the full range of our painting services or Get a Free Estimate and we will document the joints that need attention on your house.